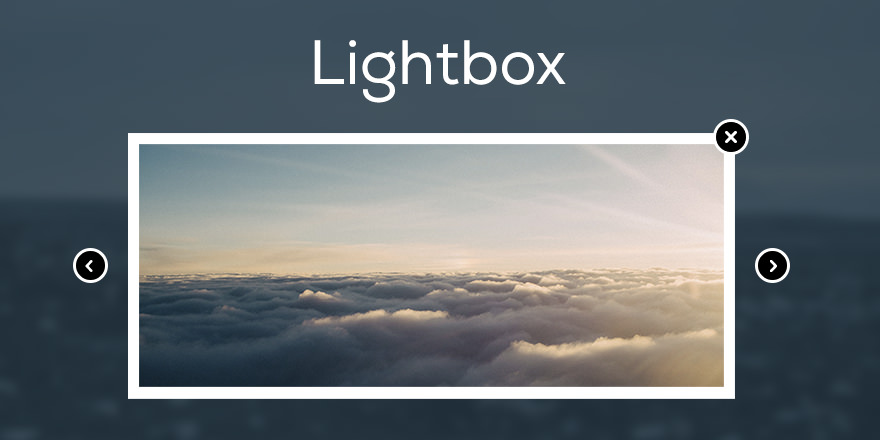
An easy way to create a light-box with jQuery & CSS

As you already know that I’ve been working on improving the performance of my website and I needed a simple solution to create a light-box effect for Live-Chat on this website. I had many options to choose from available jQuery plug-ins however, the idea was to optimize the code with minimal use of heavy third-party scripts and CSS. Moreover, the only thing I needed was a light-box effect without any other functionality.
So I created the light-box effect with a few lines of code using CSS and jQuery.
Let’s start coding 🙂
xHTML Code
Place this code within <body></body> tags where ever you like.
<a id="show-panel" href="#">Show Panel</a>
<div id="lightbox-panel">
<h2>Lightbox Panel</h2>
You can add any valid content here.
<p align=center><a id="close-panel" href="#">Close this window</a></p>

</div>
<!-- /lightbox-panel -->
<div id="lightbox"></div>
<!-- /lightbox -->
The first line of the above code is a link with id “show-panel” which will display the “light-box” and the “lightbox-panel” DIVs, similarly, on line 7 we have a link with ID “close-panel” to hide these DIVs. This will be handled by jQuery of course.
#lightbox-panel will hold the content to be displayed and #lightbox will add a transparent background behind our content panel. Let’s write some CSS code to stylize these two DIVs before we add the functionality to our links with jQuery.
CSS Code
You can add this code within the document’s <head></head> tag or in any linked style sheet.
* /Lightbox background */
#lightbox {
  display:none;
  background:#000000;
  opacity:0.9;
  filter:alpha(opacity=90);
  position:absolute;
  top:0px;
  left:0px;
  min-width:100%;
  min-height:100%;
  z-index:1000;
}
/* Lightbox panel with some content */
#lightbox-panel {
  display:none;
  position:fixed;
  top:100px;
  left:50%;
  margin-left:-200px;
  width:400px;
  background:#FFFFFF;
  padding:10px 15px 10px 15px;
  border:2px solid #CCCCCC;
  z-index:1001;
}
Note: The z-index value for #lightbox-panel should be greater than the z-index value of #lightbox to display it above the transparent background and both should have the property display as none so they should not show up by default or if the users have Javascript disabled in their browsers.
Let’s put some life to our code with jQuery.
jQuery Code
You can add this code within the document’s <head></head> tag and we are done.
$(document).ready(function(){
  $("a#show-panel").click(function(){
    $("#lightbox, #lightbox-panel").fadeIn(300);
  });
    $("a#close-panel").click(function(){
    $("#lightbox, #lightbox-panel").fadeOut(300);
  })
});
Pretty simple, huh!!
Could it get easier than this?
Once you click the link with ID “show-panel” it will display both the DIVs with some nice fade effect and if you click the link with ID “close-panel” it will hide these DIVs.
I hope you enjoyed this little trick to create the simple light-box effect with CSS and jQuery You are most welcome to share your inputs and code in the comments below.

 +1-315-215-0919
 +91-9136-747327
Great – I should definitely pronounce, impressed with your site. I had no trouble navigating through all the tabs and related info ended up being truly simple to do to access. I recently found what I hoped for before you know it in the least. Quite unusual. Is likely to appreciate it for those who add forums or anything, website theme . a tones way for your client to communicate. Nice task..