Today we have a quick tip for those who feel depressed and cry when they see the holy grail of CSS in one single line in their website/theme stylesheets.
Recently I started hearing from a lot of people complaining about their theme developers using minified CSS in their themes for maximizing performance without any consideration for their ease of use/customization. People keep asking me if there are tools that convert minified CSS back to normal human-readable form and recently someone even asked me to do a job – normalize some minified stylesheets (of course I didn’t do it and rob him off!)
Whether or not developers should minify CSS when giving out themes/websites has been a subject of debate for a long time but why developers choose to minify some parts of their stylesheets has often been overlooked. Performance issues for larger projects, minifying the reset styles (you don’t have to change them anyway!) and non-developer license are just some of the reasons!
Anyway, coming back to the subject of this post – How can you read minified CSS with ease? (No, we are not going to install any 3rd party software!)
Simply validate the CSS (only the minified part if you have other files attached as well) in question using the W3C’s CSS Validation service!
The output of the validation check is:
whether or not, your CSS validates to standards set by W3C.
Normal, Properly Formatted, and Easily Readable version of your minified/compressed CSS
Do you need to keep the formatted and decompressed CSS? Just copy it from the validation output and replace your version. Voila!
When you have a website or blog you want to stand out from all the other websites, which is why having a good WordPress theme that sets you apart is so critical. There are millions of websites that are run using WordPress and with that, there are many themes out there that are being used many times over. This can cause your website to look like many other websites if you are using one of the standard themes out there.
If you can find a theme or someone to create a WordPress theme for you that is unique, you will be one step ahead in terms of branding and making your website stand out. Free WordPress themes are not the best way to go because anyone can have the same exact design as you. Not only will it not stand out to your visitors, but search engines as well. If someone comes across your website and they have seen that design before, they may think twice about visiting your site again.
The search engines will also see your site as the same as many other websites on the web. This can play a role in your website ranking well for any keywords that you want to be ranking for. Search engines have been cracking down on all the non-unique, or otherwise spam-type websites. One way that the search engines will see your site as a spam site is the design and layout. If your website is the same as millions of other websites, they will automatically put your website on hold until it creates some authority.
In conclusion, the best way to create brand equity and build a brand for yourself or your company is to have a unique design. Visitors and search engines will see your website as a legitimate source for quality information or products.
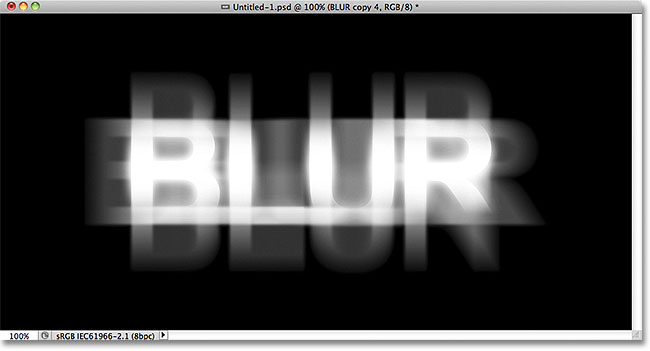
Its pretty easy to make some blurry text with CSS. We can do it by just making the text color transparent and adding some text shadow. Here’s the code for the same:
Blurry Text with CSS
To do it on the normal text we can create a class and use SPAN tag to make the text blurry.
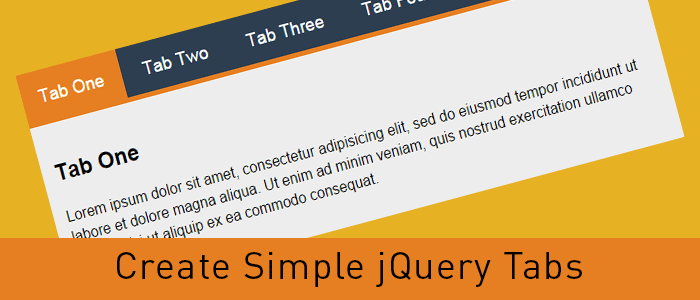
Tabbed content is a great way to handle a lot of information on a page without loosing usability and it provides a great user experience as well. Here’s a real easy way to create tabbed content with jQuery and CSS.
I’ve used the latest version of the Google-hosted jQuery library, however, you can always download the script and host it on your server.
Step 2: Write some HTML code
<div >
    <ul >
      <li data-tab="tab-1">Tab One</li>
      <li data-tab="tab-2">Tab Two</li>
      <li data-tab="tab-3">Tab Three</li>
      <li data-tab="tab-4">Tab Four</li>
    </ul>
    <div id="tab-1" >
      Lorem ipsum dolor sit amet, consectetur adipisicing elit, sed do eiusmod tempor incididunt ut labore et dolore magna aliqua. Ut enim ad minim veniam, quis nostrud exercitation ullamco laboris nisi ut aliquip ex ea commodo consequat.
    </div>
    <div id="tab-2" >
      Duis aute irure dolor in reprehenderit in voluptate velit esse cillum dolore eu fugiat nulla pariatur. Excepteur sint occaecat cupidatat non proident, sunt in culpa qui officia deserunt mollit anim id est laborum.
    </div>
    <div id="tab-3" >
      Ut enim ad minim veniam, quis nostrud exercitation ullamco laboris nisi ut aliquip ex ea commodo consequat. Duis aute irure dolor in reprehenderit in voluptate velit esse cillum dolore eu fugiat nulla pariatur.
    </div>
    <div id="tab-4" >
      Sed do eiusmod tempor incididunt ut labore et dolore magna aliqua. Ut enim ad minim veniam, quis nostrud exercitation ullamco laboris nisi ut aliquip ex ea commodo consequat.
    </div>
</div><!-- container -->
In the above code I’ve created an unordered list which will act as tabs and I’ve used a custom attribute named data-tab and set its value to tab-1, tab-2 and so forth. We will use the data-tab attribute in our jQuery script to toggle the “current” class to hide and display our tabs.
Below the unordered list, there are a few DIV elements with ID attribute same as the data-tab attribute we used in the unordered list. This will do all the magic. Before adding the magic script, lets write some CSS to stylise our HTML Unordered list and content panels.
I’ve added “current” class to the first elements and we will play with the current class to stylise the active tabs and toggle the data content div element.
I’ve used display:none for the .tab-content and display:inherit for the “current” tab. This will hide all DIV elements and show the tab with current class only. We will play with the current class to get our tabbed content work with a small magical jQuery code.
You can always change the CSS to have the look and feel similar to your website, use some image backgrounds to make it nice and smooth.
Step 4: Write the magic jQuery code
Now here’s the magic jQuery code which will actually create the tabbed content work.
When the DOM is ready, if a user clicks on any list element of ul.tabs it will grab the data-tab attribute and assign the same to tab_id variable. Then, we will remove the current class from all list elements and our DIV.tab-content elements with the jQuery removeClass attribute. Then we will add the “current” class to the clicked list element and DIV tab with the grabbed data-tab ID.
That’s it, now we have working tabbed content with jQuery and CSS. Try it, share it and let me know of your thoughts in the comments. If you need to add any additional functionality, feel free to ask in the comments.
Links, Links, Links!! That’s what we have all over the internet. On our website and blog posts, we have a lot of links to point a user to another page. Today I will share a small trick to stylize the links with CSS3 Animation. That’s what I’ve used on this website and you can apply the same as well to change the link color with style on hover.
CSS3 Animation
With CSS3 animation, we can add some effects when changing from one style to another without using any flash or javascript. We will use CSS animation transition to add some cool effects to the anchor tags.
How it works
CSS3 transition effects let an element gradually change from one style to another. To do this we must specify two things:
Specify the CSS property we want to add an effect too. Specify the duration of the effect. Optionally we can specify “transition-timing-function” which is set to “ease” by default however, we can use any of these.
Try this code on a blank HTML page and add the CSS either within ... tags or in your stylesheet. Play around a bit with the CSS to understand the CSS3 Animation transition and create some cool effects for your website links and other block-level elements. Feel free to discuss this further in the comments. You can also contact IOGOOS Solution to build Website Animation Services.
Typography is the key element in the design process. While designing a web page, business card, brochure or newspaper advertisement fonts and text style plays an important role to get user attention. To design stunning elements we need fonts and fortunately, the big daddy provides a lot of them for free. We can use Google Web Fonts in our designs and they are pretty awesome and very easy to use.
How to use Google Web Fonts on a web page
It’s pretty easy to use Google Web Fonts on your website. You can do that in just three simple steps:
Choose single or multiple Google Web Font(s) from Google fonts website: //www.google.com/fonts and add them in your collection.
Hit the use link above the list of your selected fonts and Google will show you different methods to include these fonts on your website. Standard, @import or Javascript
I always use Standard method with a small trick to load the fonts before displaying the web page.
Here’s the code you would need to use Google Web Fonts on your website.
I’ve added Open Sans and Lobster fonts to my collection for this example.
<head>
<link href='//fonts.googleapis.com/css?family=Lobster|Open+Sans' rel='stylesheet' type='text/css'>
<!-- This will prefetch content from google web fonts website -->
<link rel="dns-prefetch" href="//fonts.googleapis.com" />
</head>
The above code goes within the [htmltag tag=”code”]<head>…</head>[/htmltag] tags and the DNS-prefetch link tag will fetch the contents from Google Web Fonts website. This will help resolve issues like font changes after the page load.
In the above CSS code, I’ve defined the body font as open sans and headings font as lobster. Similarly, you can use different fonts for different elements.
How to Use Google Web Fonts while Designing?
As a designer, we all need to design the mockups of the creative work before we can publish the same. If we need to use Google Web Fonts while designing layouts in Photoshop or Illustrator we will have to download the font and install the same in our Operating System.
Using Google Web Font Download Link
We can always click the Download link to save the fonts on our hard drive and then install the font on our operating system. However, what will happen if that font is updated and new characters are added or there’s a new and improved version available for that font. We need to keep a check and if the new version is available, we need to uninstall the previous version and then install the new version.
What is there’s some tool which can automatically do this task and save us a lot of time and effort?
Fortunately, there are tools available that can make our life easy and keep Google Web Fonts updated all the time.
Using Skyfonts to Download and Sync Google Fonts
Fonts.com has teamed up with Google to offer google web fonts for desktops via Skyfonts software.
We are proud to have teamed up with Google to offer desktop versions of their popular Google Fonts free of charge. Offered for use in print, these fonts are delivered using SkyFont’s patent-pending font delivery technology and can be used anywhere.
Each time a font is updated — such as when new characters are added — SkyFonts will automatically update the font on your device. Syncing Google Fonts with SkyFonts will also improve your web browsing experience, by cutting the time spent downloading fonts. ~ Fonts.com
Skyfonts software is available for both Mac and Windows. You can choose the fonts you want to use while designing and Skyfonts sync these fonts with your operating system fonts and make them available in all applications as normally installed fonts. If a new version of the installed font is available, the Skyfonts application will automatically sync and replace the older one with the new version.
Download Skyfonts Software
There are other methods available to download all Google Web Fonts on your computer, however, I found Skyfonts the easiest and most efficient to keep all the fonts updated.
You can add the following code in your theme’s functions.php file to change the WordPress excerpt length. Change the number (100) to the desired length.
add_filter('excerpt_length', 'new_excerpt_length');
function new_excerpt_length($length) { return 100; }
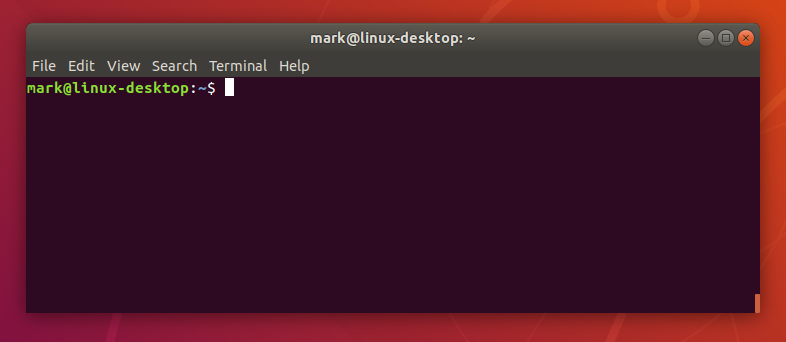
While working on multiple projects I always need to copy the current path of a directory in Terminal. I used to use the command pwd in the terminal that prints the current directory path in the terminal and then I have to select the path with the mouse to copy and paste the same where I needed.
I hate to use the mouse as it wastes a lot of time and to save time and copy the current path without selecting it with the mouse, I found this command and use it all the time.
pwd | pbcopy
This command will copy the current directory path to the clipboard and we can then press CMD+V (CTRL+V for Windows) to paste the path wherever needed.
I hope this will help someone save time and be more productive.+
In each PHP website, we need to find out the current URL of the page, and here’s the PHP code to find out the current URL of the page a user is browsing with or without the query string.